Monday, July 30, 2018

Flower Arranging: How To Keep Them In Place

This is the time of year to sit back and enjoy the fruits of gardening labors!
A stroll through the garden will reap lots of flowers to make arrangements with.
If you don't have a garden spot, the local Farmer's Markets can supply you with flowers for very little money.

So many people tell me how intimidated they are about arranging flowers.
Knowing how to support and keep the stems in place will take the mystery out of flower arranging.
Once you know these different tricks, your creations will have that professional look you want.

Floral Foam (the wet kind!!!)
This is by far the easiest way to create a formal arrangement. Floral foam lets you have the stems come out at angles.  Your ability to control the arrangement is limited only by your artistic eye. Once you create the arrangement, keep the foam hydrated and it will last a pretty long time.  Floral foam CAN NOT be reused successfully.  This makes it sort of an expensive option. Amazon has the foam for a couple dollars a block.  But the more you buy the cheaper it is....I just ordered 36 blocks for 20 bucks...but then....I do a lot of flower arranging!!!

Flower Frogs

A flower frog is a glass or metal object with holes in it to hold and support flower stems. There are glass, metal and ceramic frogs.  It is a good idea to watch for them at the thrift store or yard sales.
Sometimes I use these as pencil holders.


According to hearthandvine.com "It seems that no one knows the origin of the term “frog,” though most agree it must have become a slang term for the fact that they sit in water, like a frog. ... In the mid 1950s, however, a water-absorbent foam, called “Oasis,” was invented, driving the flower frogs to near extinction. "  

Tape Cross Hatch Grid

 You can create a cross hatch of floral tape on the top of a vase if you have a lot of patience and dexterity.

Me....not so much!  I never have seen the point of this.

But......if you are one of the many Mason jar lovers.....you can buy this insert to create a grid for your flowers.  Not a bad idea.


Chicken Wire or Rabbit Fencing

Using chicken wire is a cost effective alternative to floral foam.  It is not as easy to work with, but it makes a strong support grid for stems. 


Chicken wire is kind of "pokey" and you need a tin snips to cut your piece to size.
Using plastic "rabbit fencing" solves those problems.  The plastic can be used over and over again.

You can buy the plastic mesh fencing at most garden stores.  25 feet is a lot...maybe you could split it with a friend or two.

Since we have rabbits eating our plants...we had this lying around here!


The piece of the plastic is cut to size and pushed down into the container.

The flowers are easy to arrange using this grid support.

Foliage as Support

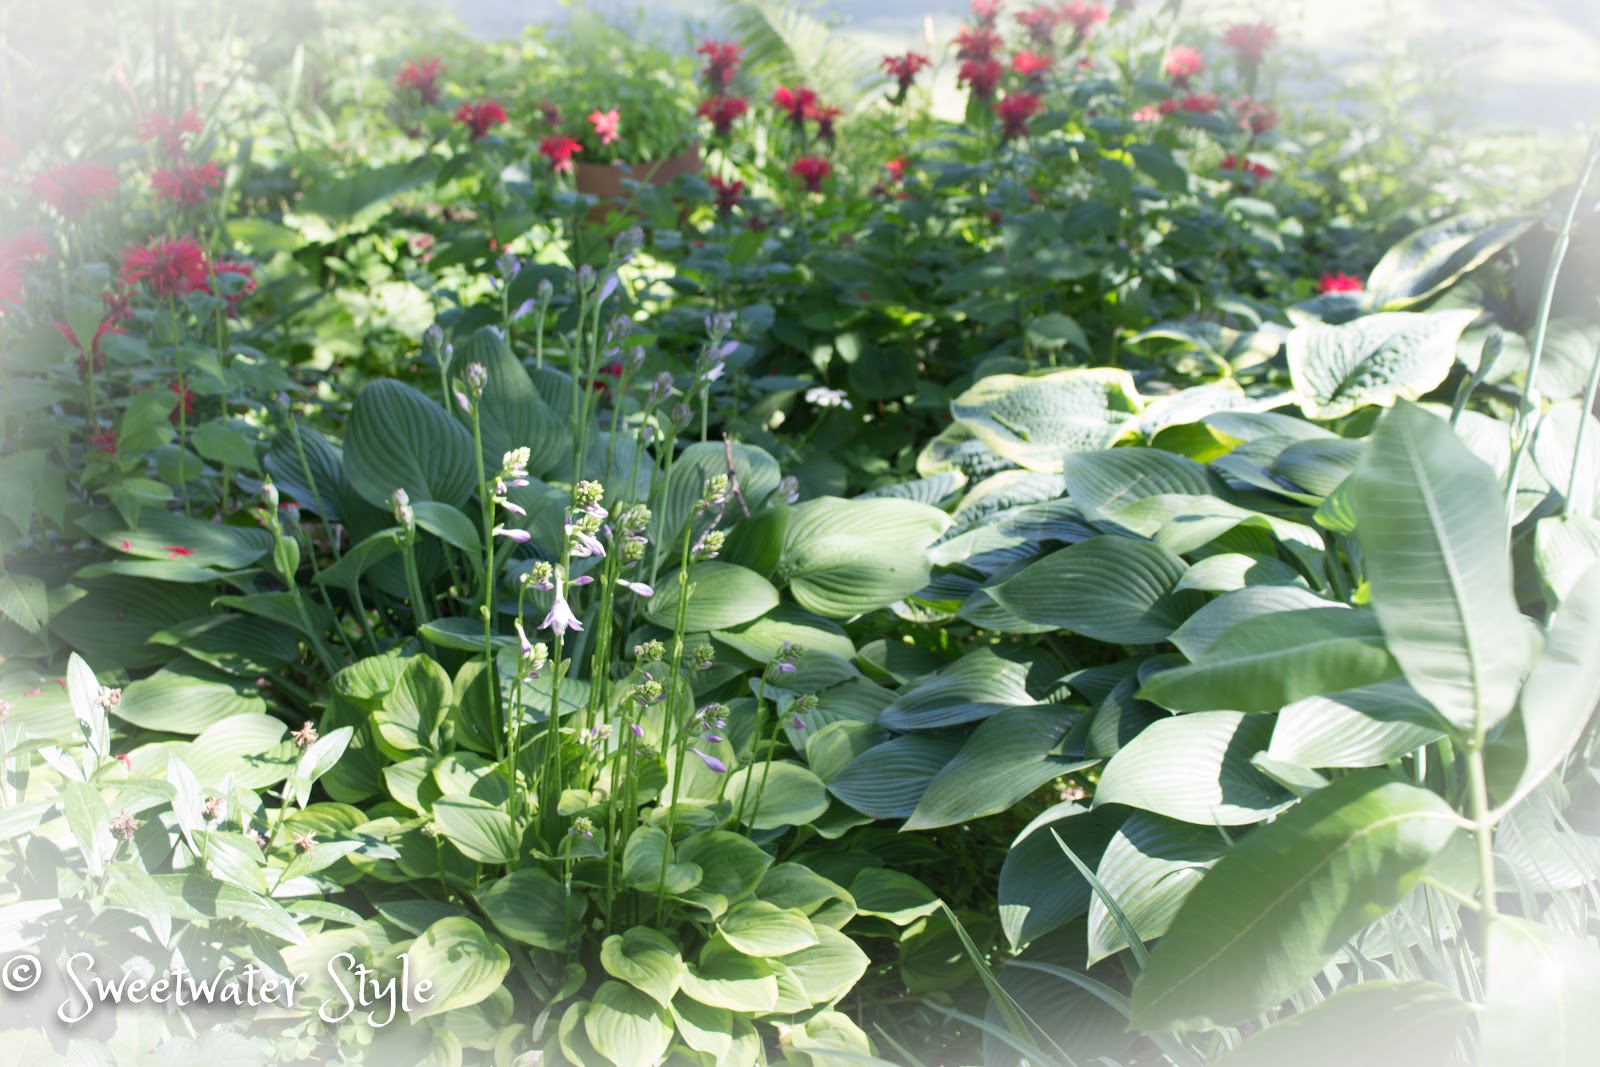
Sometimes you are working with a clear glass container.  You don't want to see the floral foam or wire.  Using sturdy leaves from your perennial plants is a way to provide support.  This works especially well with shallow arrangements.


Pachysandra, Hosta, a Peony leaves are especially good choices.

Curly Willow or Grape Vine

A twist of curly willow or grapevine inside a clear vase makes an interesting and organic support.
I didn't have any example photos of my own.....so I went out and found these pretty ones.  You do have to change the water often if you use this method because the willow or grape vine does "muddy" the water.


Flirty Fluers
source


I hope these ideas are some you can use when you arranging your flowers.

Have A Wonderful Day!


Thursday, July 12, 2018

Why You Need to Know How to install a Zipper!

The Kate Spade design aesthetic is one that I have always loved.
My heart broke when this icon lost her battle with depression.  What a tragedy.

The other day I was at HomeGoods.


I was thrilled to find this pack of 4 wonderful brightly patterned cloth napkins with her label.

Here is something Kate Spade that I can afford!!!

I knew that this cheerful pattern called "Flower Box" would make great summer pillows for the living room.

Since these pillows will be seasonal, I decided to make removable covers for existing pillows.

It is also nice that they are removable because the pattern has a bright white background that could get dirty.


I am not going to bore you with instructions on how to make a pillow cover.
You can figure out that you put the right sides of the two squares together and sew around the edge.
You need to leave an opening along one side to turn the pillow cover right side out!

THAT is where knowing how to install a zipper comes in.
A zipper closure is the absolute neatest way to close the edge of a pillow.

Yeah....I know all the excuses you are coming up with to avoid this!
  • "it's easier to just hand stitch the edge..."
    • well.... actually...a neat hand stitch closer is pretty hard to get "right".
  • "zippers are expensive....."
    • well....actually....you can buy a whole bunch of zippers for less than a bottle of inexpensive wine.


  • "I never remember how to install a zipper...it looks complicated...
    • sew4home has put together the ultimate tutorial for installing a zipper
    • plus you will learn some crazy things about the history of zippers.
    • for instance: "Interestingly, Elias Howe, the same man credited with inventing the sewing machine, received a patent in 1851 for the first zipper, which he called: "Automatic, Continuous Clothing Closure."  Can you imagine trying to tell someone to "check your automatic continous clothing closure!!!???
Hey...wait a minute....there were only 4 napkins in the package.
How did I make Three pillows?

One pillow is made with two napkins back to back.


I "cheated" on the other two and used some nice white duck fabric for the backs.
(this is a great trick if you are making pillows with super expensive fabric)


I hope this inspired you to learn how to install a zipper.
If you already know how....I hope you are inspired to go make a pillow!

https://www.123freevectors.com/free-fashion-design-brushes-zippers-stitching/


Have A Great Day!


Sunday, July 8, 2018

Hosta Flowers: Pretty or Not?!

Hosta plants are abundant here at Sweetwater. 

I wish I was one of those people who knew all the names of the different plants and labeled them.
I am NOT that Hosta gardener!

I do love all the gorgeous leaves of the many kinds of Hosta.


These plants are great fill for the shady gardens that are way to big for any good purpose!  The varied colors on the leaves brighten up the shady spots. The textures are interesting.

Now, let's talk about the flowers on Hosta!
The flowers have always seemed to be sort of a nuisance....hanging around on the top of the plant in a way that looks out of place next to the great foliage!


You can probably tell that I am not a Hosta flower fan!

I decided to change that this year.  I started to look....really look at the flowers and see them as possible cut flowers for the house.

I did a little google image searching....and found these examples of other people's arrangements.


Source
This one looks like it uses Snow on the Mountain flowers as well as Hosta...hmmmm....I have lots of that too!
Source
This is so pretty.
Once you isolate the flowers and treat them with some "respect", they have a look that is almost like an orchid.

Source
This is almost Zen like...


So off to the garden I went with new eyes focused on the flowers on the Hosta instead of the leaves.

BTW....have I told you that I can't have Hosta leaves in the house anymore....
Why???  Marvin the cat has decided that if you eat the leaves of the Hosta....you can thoroughly annoy the "help" by vomiting in a variety of inconvenient places!!!

 ANYWAY....here is the result of my new appreciation for Hosta flowers.


I am definitely going to start using them more often......
HMMMM....we are going to dinner at some friend's tonight....
Maybe I will make that Zen looking arrangement....they DON'T have a puking cat to worry about.!


Have A wonderful Day!

Related Posts Plugin for WordPress, Blogger...